Painting the inside of your home can feel intimidating if you have never done it before. With the right preparation and a clear plan, interior painting can be one of the most affordable and satisfying upgrades you can make. Understanding how interior paint works, how to prepare your space, and how to apply it properly can help you avoid common mistakes and achieve a clean, professional-looking finish.
These beginner-friendly tips will walk you through the essentials so you can paint with confidence.
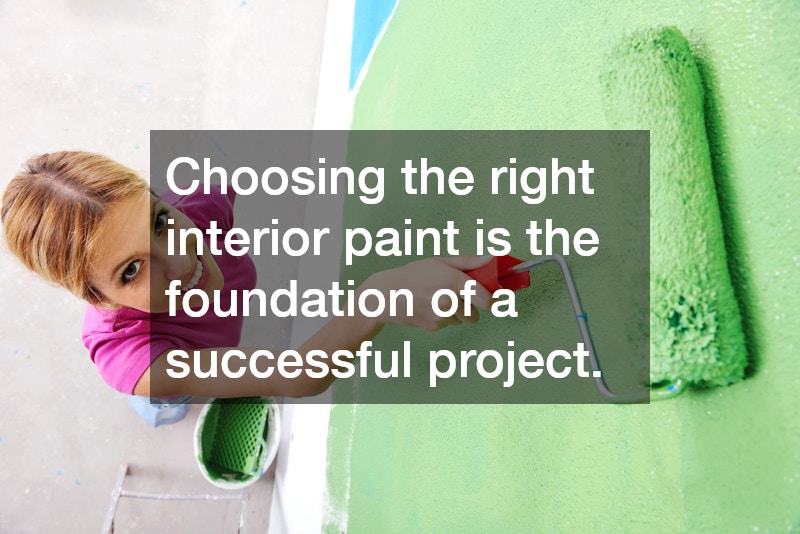
Start With the Right Interior Paint
Choosing the right interior paint is the foundation of a successful project. Paints come in different finishes, such as flat, eggshell, satin, semi-gloss, and gloss, each serving a specific purpose. Flat finishes hide wall imperfections well but are harder to clean, while satin and semi-gloss finishes are more durable and better suited for high-traffic areas.
It is also important to choose paint specifically labeled for interior use. Interior paint is designed to be low-odor, quick-drying, and easy to clean, making it safer and more practical for indoor environments. Taking time to select the right finish and quality level will save you frustration later.
Prep the Room Before You Paint
Preparation is often the most overlooked step, but it plays a major role in how your interior paint looks once it dries. Begin by removing furniture or pushing it to the center of the room and covering it with drop cloths. Floors should also be protected to prevent splatters and spills.
Next, clean the walls thoroughly to remove dust, grease, or residue. Even small particles can affect how paint adheres to the surface. Fill nail holes or cracks with spackling compound, sand smooth, and wipe away dust before painting. Proper prep helps the interior paint go on evenly and last longer.
Use Primer When Needed
Primer is not always required, but beginners should not skip it without careful consideration. If you are painting over dark colors, stained walls, or patched areas, primer creates a uniform base that helps the interior paint cover better. Primer also improves adhesion and can prevent old colors from bleeding through.
For first-time painters, using primer often makes the painting process easier. It reduces the number of coats needed and results in a more consistent finish. While it may add an extra step, primer can actually save time and paint in the long run.
Choose Quality Tools for Better Results
The tools you use have a direct impact on how your interior paint looks. High-quality brushes and rollers hold paint more evenly and reduce streaks or shedding. For walls, a roller with the appropriate nap length is essential, while angled brushes work best for corners and trim.
Cheap tools may seem appealing, but they often lead to uneven coverage and visible brush marks. Investing in reliable tools helps beginners achieve smoother results and makes the entire process more manageable. Good tools also make cleanup easier once the job is done.
Apply Interior Paint in the Right Order
Knowing the proper painting order can prevent smudges and unnecessary touch-ups. Start by painting the ceiling, then move to the walls, and finish with trim and doors. This approach allows you to correct drips or mistakes as you go without damaging completed areas.
When applying interior paint, use steady, even strokes and avoid overloading your brush or roller. Thin, consistent coats dry more evenly than thick layers. Most rooms require two coats for full coverage, especially when changing colors.
Allow Proper Drying Time Between Coats
Drying time is critical for achieving a durable finish. Even if interior paint feels dry to the touch, it may not be ready for another coat. Rushing this step can lead to streaks, peeling, or uneven texture.
Always follow the manufacturer’s recommended drying times listed on the paint can. Adequate ventilation helps paint dry properly, but avoid using fans that blow dust onto wet surfaces. Patience during drying ensures a smoother and longer-lasting result.
Avoid Common Beginner Painting Mistakes
Many first-time painters make the mistake of skipping prep work or using too little paint. Others press too hard with rollers or go back over areas that have already started drying. These habits can create visible lines or uneven finishes.
Another common issue is not mixing paint thoroughly before and during use. Interior paint can separate in the can, which affects color consistency. Stirring regularly ensures uniform color throughout the room and prevents unexpected variations.
Clean Up and Store Paint Correctly
Once painting is complete, proper cleanup helps extend the life of your tools and leftover interior paint. Wash brushes and rollers promptly with warm water for latex paint, and remove as much paint as possible before it dries.
Seal leftover paint tightly and store it in a cool, dry place. Label the can with the room name and date for future touch-ups. Proper storage ensures your interior paint stays usable and makes small repairs easier later on.
Painting your home does not have to be overwhelming, even if you are just getting started. By choosing the right interior paint, preparing surfaces carefully, using quality tools, and allowing proper drying time, beginners can achieve impressive results. Taking a thoughtful, step-by-step approach helps avoid common mistakes and builds confidence for future projects. With these interior paint tips in mind, you can transform your space and enjoy the satisfaction of a job well done.